Making the Toy Airplane
The lamp was incredibly fun to make, but also fairly easy. Now I'm getting started on the toy airplane that will sit on the bottom of the lamp, which will give the lamp some character!I made sure to do step by step this time!
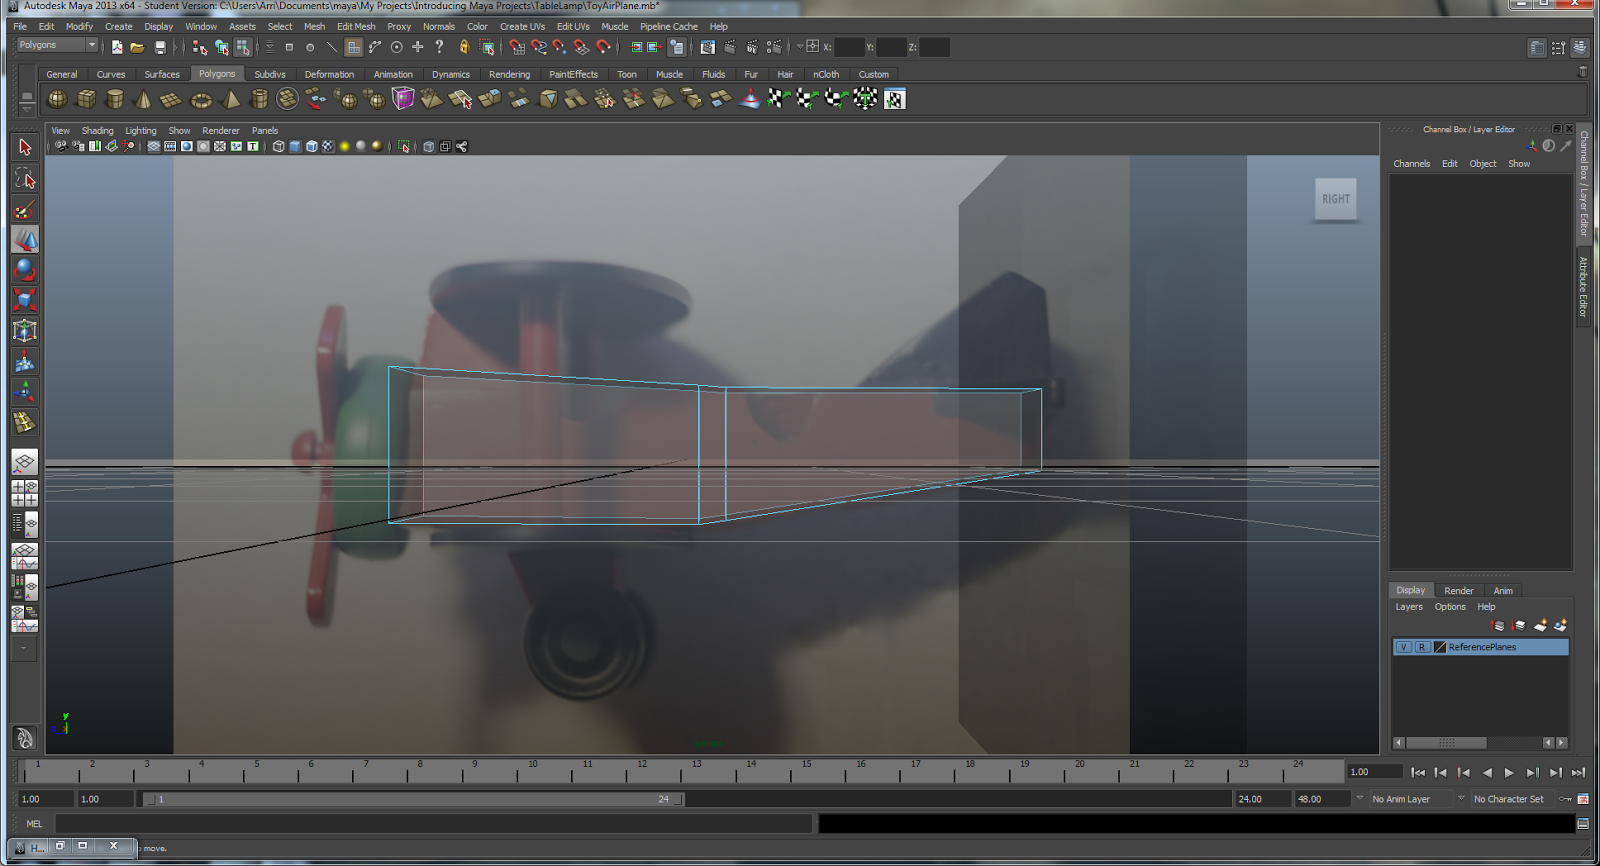
First I created reference planes and made my reference layer, so that I can basically trace the plane. By putting these images in the a new layer, I was able to set them as a reference layer and make them unselectable during the modeling process, very handy.
Next I created the 'Fuselage'
If you're like me and don't know what the heck a fuselage is, let me save you the google search.
The fuselage is the main body of an aircraft. Yay, new vocab!
I created the fuselage through boxmodeling. The two middle edges were created with the edge loop tool.
I used the interactive split tool, and the extrude tool to create the wings in the back. And moved faces and edges around in order to better shape it.
A handy trick I need to remember is that if I don't want everything in x-ray mode, and only certain objects, I can go to
Attribute Editor -> Object Display -> Drawing Overrides -> Shading
By clicking the shading box I can make is so that the object is only a wireframe. Super handy.
The following images are with the Shading turned on and off, which unfortunately doesn't really show the usefulness of this feature. This was super handy because I could keep my reference images from being x-ray and see through my model in order to make sure everything was being modeled correctly.
Using Booleans to Finish the Fuselage
A Boolean basically takes an object, like my fuselage, and another object, like a cylinder, and uses the cylinder to create a difference in the mesh. So where the cylinder was placed in the mesh, there is now a hole in the shape of that cylinder!
Niiiice.
I had to use this technique in order to create the space for the lamp stem, as well as to create the hole for the cockpit.
I beveled the outer edges of the fuselage, it was slightly problematic in some areas, but overall it turned out okay. The booleans actually created a lot of problematic areas, so when I went into Mesh -> Cleanup it ended up looking like this. It looks like I have quads and triangles in this mesh.
Creating the Propeller and Nose
Next I created the propeller. It was separated into three parts, the cap, the propeller and the propeller button. All of which were smoothed to create nicer edges.
Making the Wings
Easy Peasy.
Making the Wheels
I had a bit of difficulty with this. I'm created a cv curve and then rotated it, but the only reason I got it to work out was because I used the values given from a screen shot in the book. I'm not sure I could duplicate the effect on my own.
The plane is done!
Using References
I just realized I forgot to post about my lamp modeling experience. Sorry! If anyone is actually interested let me know and I'll post about it.
Last, but not least, I had to put the plane file into the lamp file.
And the project is completed!!
The main issues with the lamp are that the trim isn't quite perfect and when I go in to add the hypershades I'll probably need to edit them a little so that the lamp shade isn't poking out in certain spots. In grey scale it looks great!
The main issues with the lamp are that the trim isn't quite perfect and when I go in to add the hypershades I'll probably need to edit them a little so that the lamp shade isn't poking out in certain spots. In grey scale it looks great!
I think the project turned out rather well. The plane had a few hiccups with the Booleans and edge loops in combination with the bevel, but after clean up it SHOULD all be okay. . . hopefully.


do you know where are those ref. images ?
ReplyDelete